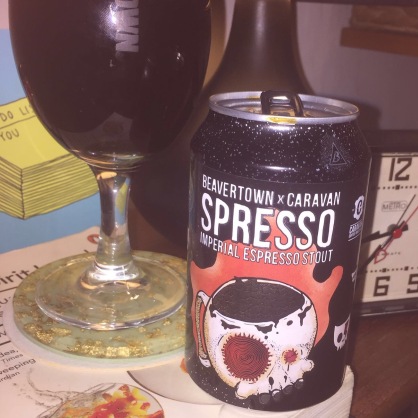
So a barista walks into a bar… and ponders… how could I make some of this stuff at home?
This happens so frequently that I thought it would be worth a post looking at the bare essentials to make a half decent IPA without investing too heavily. Like any good hobby, home brewing will inevitably lead to a constant cycle of buying or upgrading equipment, be it to increase volume (quantity) or, just… because new things are fun!
My first attempts at home brewing involved a kit consisting of a huge tin of extracted malts which you simply heated up, mixed with water and dumped into a fermenter with a sachet of yeast. The quality of these kits can actually be pretty good, however the craft is virtually as non-existent as the satisfaction you get from preparing it.
The following basic equipment will be enough to achieve a 10 litre ‘partial mash’ brew. A ‘partial mash’ requires no mash tun. A mash tun is an insulated container which will hold malted grains mixed with water at a constant temperature (usually around 60-70c) for an hour or so to extract the natural sugars from the malts providing sugar for the yeast to eat and turn into alcohol. For a ‘partial mash’ this process has already been done and dried out as one of the ingredients; ‘malt extract’ or ‘spray malt’. We will still be using malted grains to achieve flavour.
| Basic Equipment |
Alternative – “I might get into this…” |
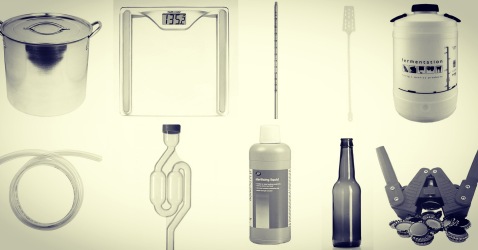
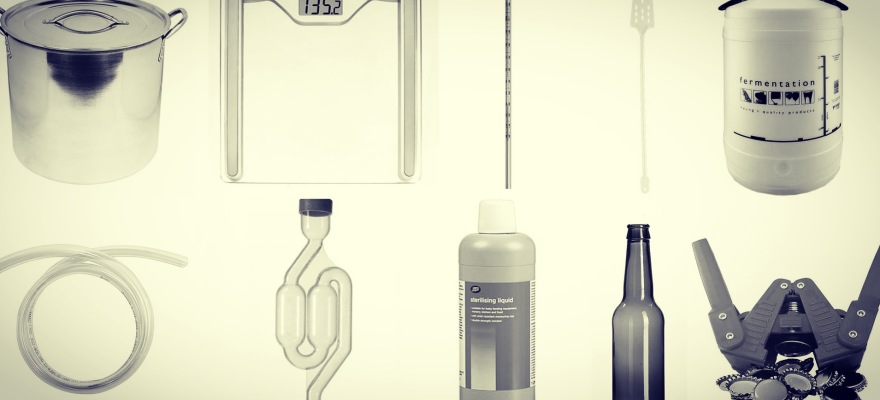
| 15 Litre Stock Pot |
30 Litre Brewing Pan |
| Digital Scales |
|
| Thermometer |
Digital Thermometer (Thermapen) |
| Long Handled Spoon |
Mash Paddle |
| Food Grade Bucket & Lid |
25 Litre Fermenter |
| Food Grade Tubing |
Auto Syphon |
| Air Lock & Grommet (& vodka) |
Air Lock & Bung (& Jack Daniels) |
| Sanitising Liquid |
No Rinse Sanitiser & spray can |
| PET Bottles (Screw Top) |
Glass Beer Bottles |
|
Bottle Capper & Caps |
| Ice |
Copper Heat Exchange Coil & Hose |
| Grain Bags/Hop Bags |
Mash Tun |
So here’s a simple recipe and instruction which can achieve perfectly decent IPA. Ingredients and equipment are readily available on eBay and various home-brew websites, however we have had consistently good service from themaltmiller.co.uk
For the 20 litre yield, you will need a suitably sized pot and fermenter.
Instructions:
- Add the Crystal Malt and Dingemans Aromatic Malt to a grain bag and tie off.
- Heat 2 litres (or 4 litres) of water in brewing pot to 71c
- Add the grain bag, remove the pot from the heat and leave to steep for 20 minutes
- Gradually raise the temperature to 77c
- Remove the grain bag and top up the water to 11.5 litres (or 23 litres) (best to pre-heat this water beforehand if possible, to save time)
- Gradually stir in the Malt Extract whilst the wort to the boil (this can be a bit sticky and messy)
- Once boiling, add the 8g (or 16g) of the Centennial Hops (tie off in a hops/grain bag)
- After 45 minutes of boiling, add 8g (or 16g) of both Cascade Hops and Centennial Hops (tied off in a hops/grain bag)
- After 1 hour of boiling , remove from the heat and add the remainder of the hops, again tied off in another bag.
- Start cooling the wort. From this point onwards, it’s important to keep everything that comes into contact with it sanitised. The boiling process keeps bacteria at bay however any that get introduced at this stage could multiply during fermentation and spoil the beer.
- No Rinse Sanitiser is a good investment as you can simply spray it onto any utensils etc. It comes as a concentrated solution so a bottle will last a long time. Standard sterilising solution contains sodium chloride so everything will need to be thoroughly rinsed in clean water before use.
- Immersing the pot into a sink of iced water will help speed the cooling up, however this can take a while. A copper heat exchanger attached to the cold tap will take care of this within about 15 minutes!
- Cool the wort to below 29c
- Syphon the wort into the fermenter and top off with cold water to 10 litres (or 20 litres) agitating as you go to introduce some oxygen to help the yeast
- Pitch the yeast and stir in
- Seal the fermenter
- Rubbing some vaseline around the lid will help keep nasties out
- If you’re using a bucket and lid, you will need to make a hole for the grommet to tightly seal the air lock. Half fill the air lock with spirit (e.g. vodka). The air lock will allow carbon dioxide produced by the yeast to escape, and prevent nasties getting in.
- Ferment for 2 weeks or until bubbling activity has stopped. The beer should start to get lively within 24-36 hours if stored at normal room temperature
Bottling:
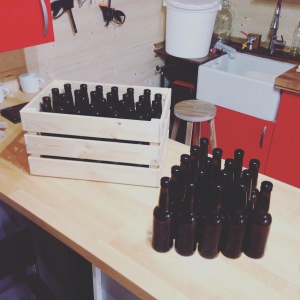
You can buy screw-top plastic (PET) bottles which removes the need to buy glass bottles and a capper, however even recycled glass bottles make for a much more authentic finish.
Once the beer has stopped bubbling, fermentation is complete and it’s ready to bottle.
Syphon the beer into a clean pot/bucket which has been thoroughly sterilised. Sediment created as waste from the fermentation process will have settled to the bottom of the fermenter so syphon from a few centimetres from the bottom to avoid too much of this ending up in your bottles. Try and avoid introducing too much air at this point.
If you want the beer to be fizzy and produce a head, it will need to go through a secondary fermentation in the bottles. There will still be enough live yeast in the beer to consume more sugar if you add it and thus create Co2 and pressurise the bottles.
Stir in 4g (1 tsp) of brewing sugar per 500ml of beer. Overdoing this can lead to a lot of Co2 buildup in the bottles which can result in them popping their caps and making a mess.
Syphon into your chosen (sterilised) bottles leaving about 3 cm empty at the top, and cap.
Ready to drink in a couple of weeks!


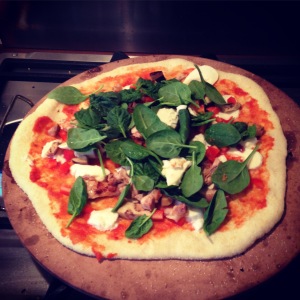
 Preheat your oven as hot as it will go. Preheat a pizza stone if you have one, or a large baking sheet